
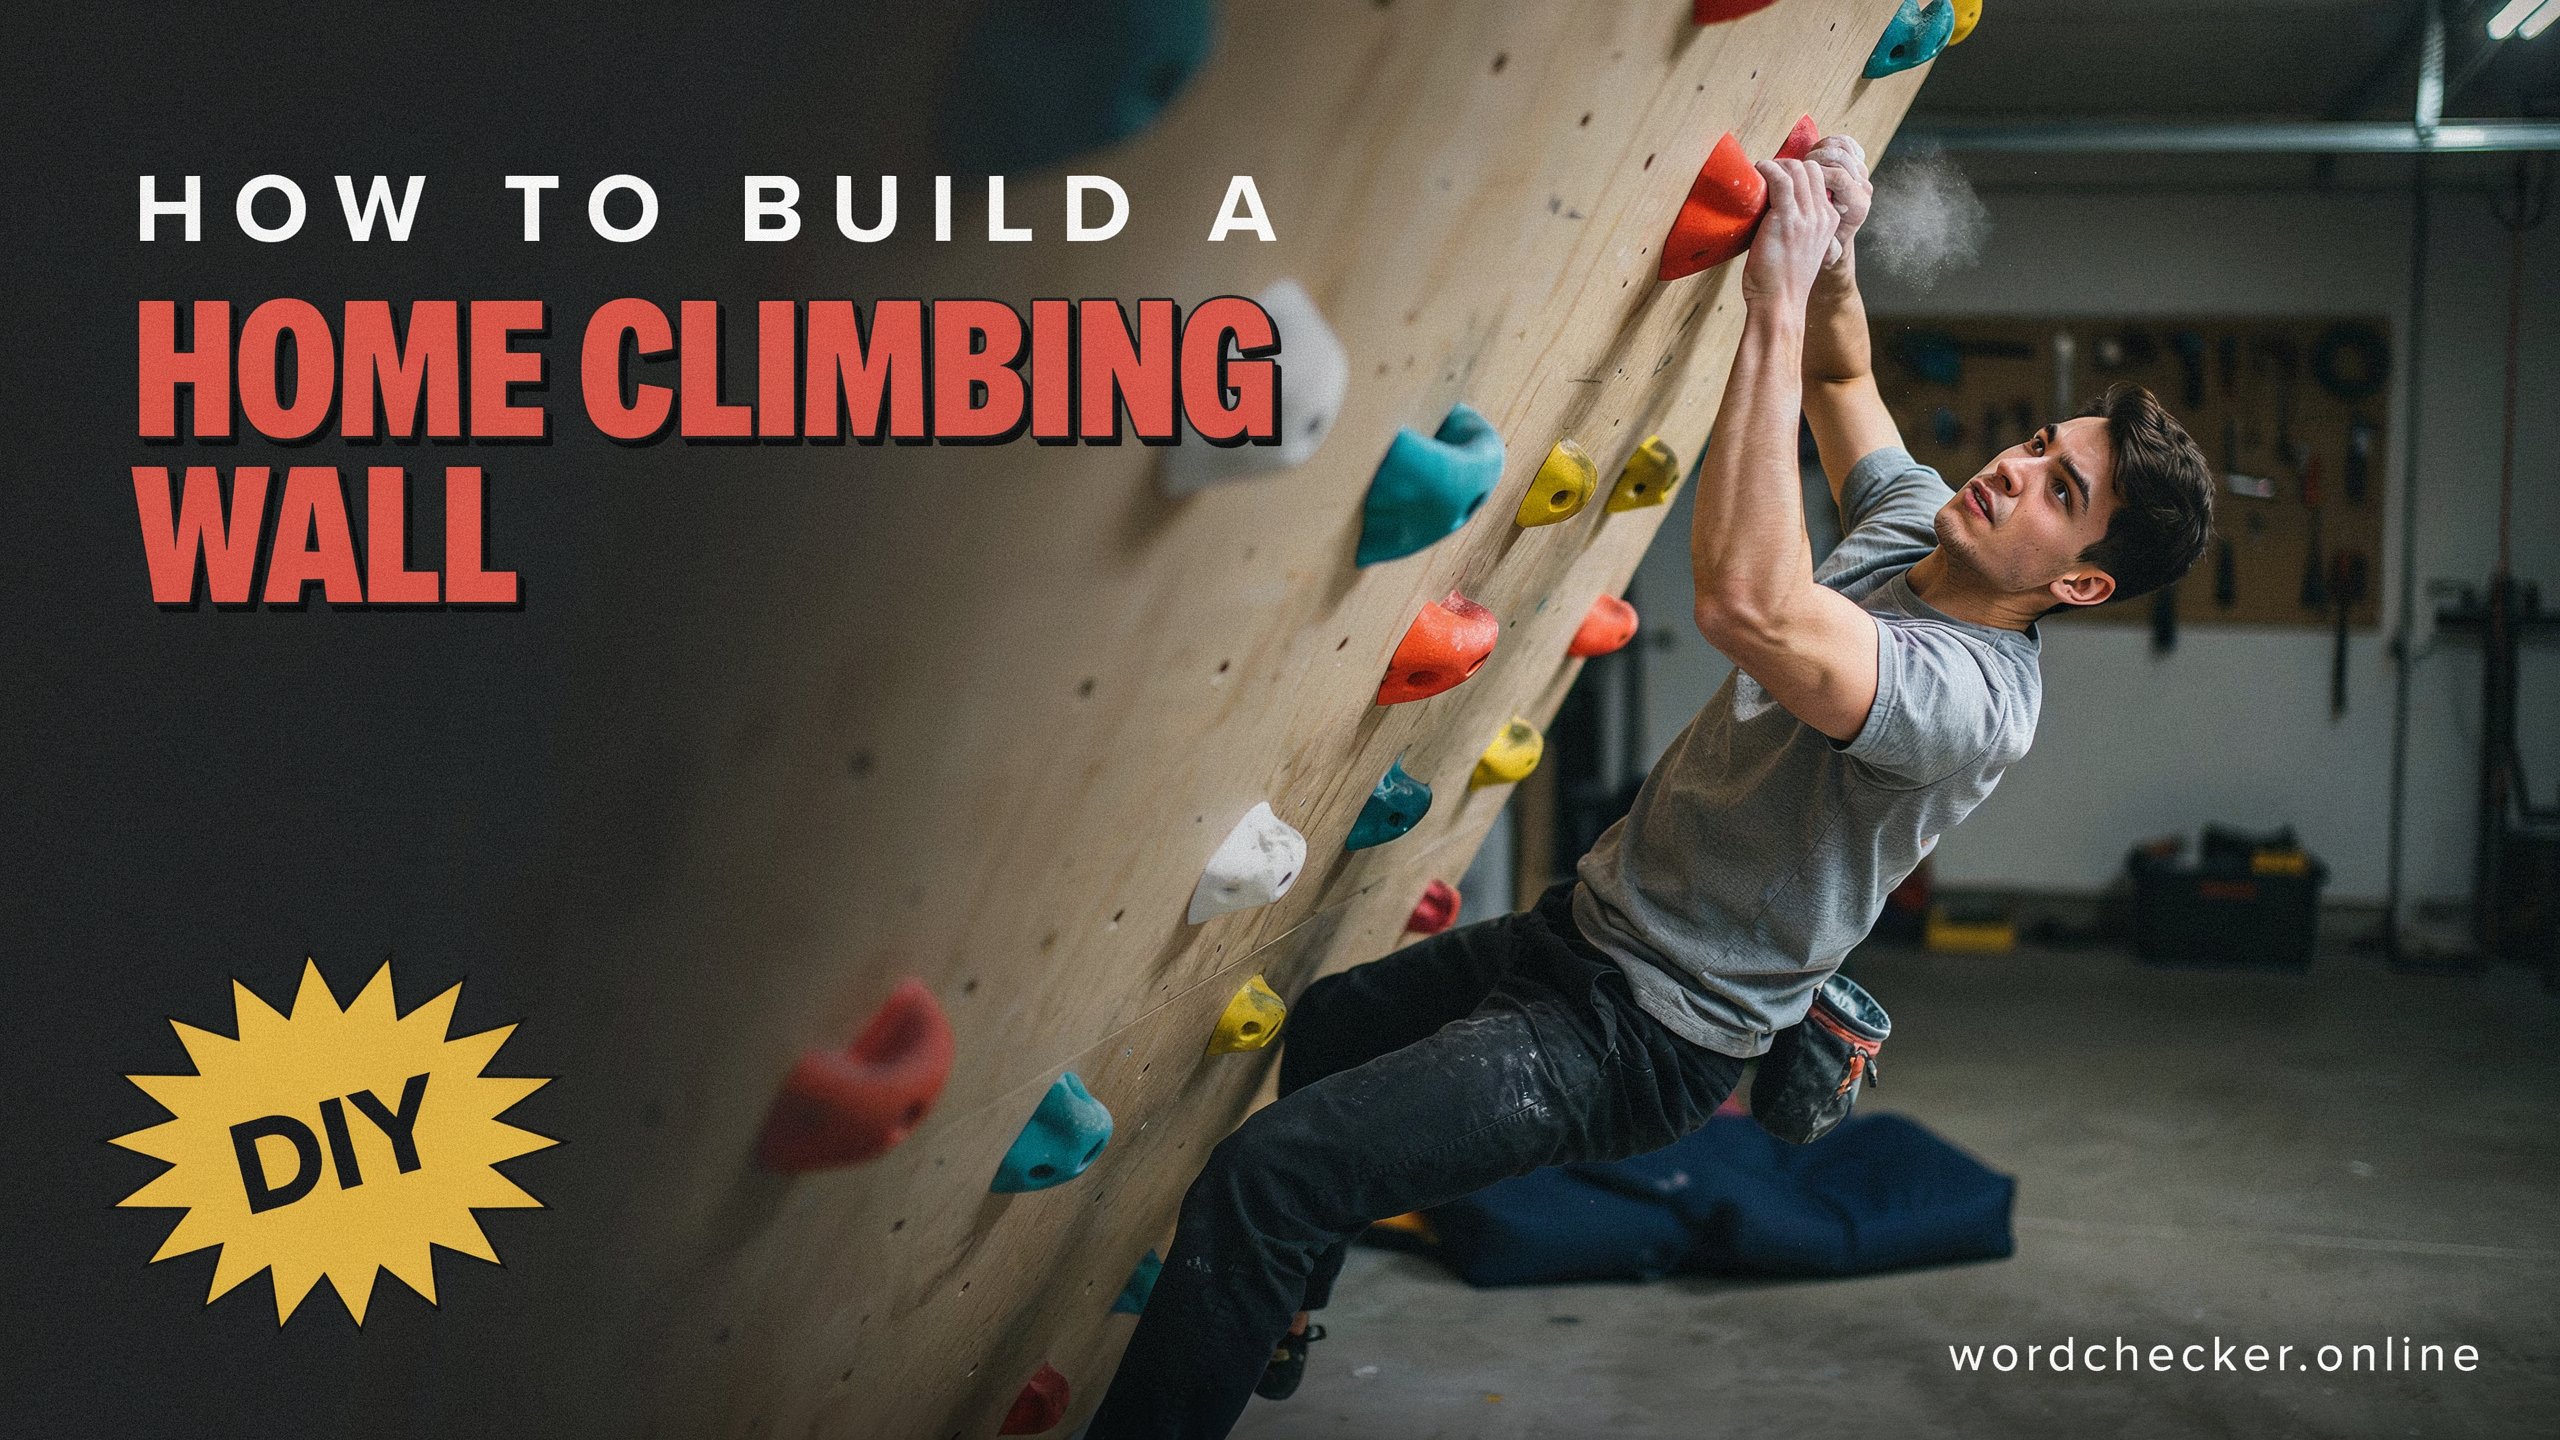
Building a climbing wall at home can turn an unused garage, basement, spare room, or suitable outdoor space into a fun and challenging training area. A well-designed wall can be used for climbing practice, strength training, movement drills, and recreational activity.
However, a home climbing wall is also a structural project. The wall, frame, fasteners, climbing holds, and landing area all need to be planned carefully. Safety should always come before difficulty or appearance.
If you are wondering how to build a home climbing wall DIY, this guide explains the process from choosing the location and designing the frame to installing plywood, climbing holds, padding, and performing final safety checks.
What You Need to Know Before Building a Home Climbing Wall
Before buying materials or cutting timber, decide what type of wall you actually need.
A beginner-friendly home wall does not have to be extremely high. A relatively low wall can provide plenty of training opportunities, especially when it includes an overhang or different angles.
The main types include:
- Vertical climbing wall
- Slightly inclined wall
- Overhanging climbing wall
- Adjustable training wall
- Freestanding climbing wall
- Indoor climbing wall
- Outdoor climbing wall
For a first DIY project, a simple fixed-frame wall is generally easier to plan and construct than a complicated adjustable system.
The available space is equally important. Measure the height, width, and depth of the proposed area and identify doors, windows, electrical outlets, pipes, heating equipment, and other obstacles.
Choose a Suitable Location
The location is one of the most important decisions when planning a DIY climbing wall.
A garage or dedicated indoor space can be convenient because it provides protection from weather and allows climbing to take place throughout the year. An outdoor structure can also work, but it needs additional protection against moisture, sunlight, and temperature changes.
Make sure there is enough clear space around the wall for movement and falling. Do not place sharp objects, furniture, tools, equipment, or hard obstacles inside the potential fall area.
If the wall will attach to an existing building, you must determine whether the building structure can safely support the additional loads created by the climbing wall and its users.
When there is any uncertainty about the structural capacity of a wall, ceiling, floor, or existing framing, consult a qualified building professional or structural engineer before construction.
Design Your Home Climbing Wall
A good home climbing wall design starts with a simple drawing.
Your plan should show:
- Overall wall height
- Wall width
- Wall angle
- Frame locations
- Plywood dimensions
- Stud or support spacing
- Anchor points
- T-nut positions
- Floor and landing area
- Access points
Think about how you want to use the wall. A vertical wall is useful for beginners and technique practice, while an overhanging wall increases the physical demand on the climber.
A modest wall with several angles can be more useful than simply making one very large vertical surface.
Keep the design simple enough that every structural connection can be inspected easily.
Materials for a DIY Climbing Wall
The exact materials depend on the design, location, local building requirements, and expected loads.
A typical climbing wall construction may include:
- Structural timber for the frame
- Structural-grade plywood
- Appropriate structural screws or bolts
- T-nuts for climbing holds
- Climbing holds
- Washers and compatible bolts
- Floor padding or climbing mats
- Tools for measuring and cutting
- Drill and appropriate drill bits
- Level
- Protective equipment
Do not select fasteners simply because they are convenient or inexpensive. Structural connections should be appropriate for the materials being joined and the loads involved.
Likewise, plywood should be suitable for the intended application. Thin or damaged sheet material should not be treated as equivalent to properly selected structural plywood.
Build a Strong Frame
The frame is the foundation of the entire home climbing wall.
Start by marking the frame locations according to your design. Build the structural framework so that the plywood will have adequate support along its edges and across the main spans.
If the climbing wall is attached to a building, the attachment points must connect to appropriate structural members rather than relying on weak surface materials.
For a freestanding wall, the base and bracing need to prevent the structure from moving, tipping, or twisting during use.
A climbing wall experiences more than just the weight of a person standing on it. Climbers pull, push, swing, and fall against holds and the structure. An overhanging wall can create significant additional forces.
This is why structural stability should never be guessed.
Once the frame is assembled, inspect every connection. Check that the structure is square where intended, properly braced, and firmly secured.
Install the Plywood Surface
After the frame is complete, install the plywood panels.
Position each panel carefully and make sure the joints are properly supported by the frame. Fasten the panels according to the structural design rather than placing screws randomly.
The climbing surface should remain stable when pressure is applied. There should be no unexpected movement, significant flexing, loose panels, or protruding fasteners.
Countersinking may be appropriate for some fasteners when compatible with the selected construction method, but do not weaken the plywood by removing excessive material.
Inspect the entire surface after installation. Sand or otherwise address sharp edges and splinters so they cannot cause unnecessary injuries.
Add T-Nuts for Climbing Holds
One of the defining features of a DIY climbing wall is its adjustable climbing-hold layout.
T-nuts are installed in the plywood so that climbing holds can be attached and repositioned. Plan their locations before drilling.
A grid pattern can make future route changes easier. Make sure the holes are accurately positioned and that the T-nuts are properly seated.
Use the correct hole diameter and installation method for the specific T-nuts you are using. Incorrectly installed T-nuts can spin, loosen, or pull out of the plywood.
After installation, inspect the back of the panels where accessible to confirm that the hardware is seated correctly.
Install the Climbing Holds
Once the surface and T-nuts are ready, you can install the holds.
Use compatible bolts and hardware supplied or specified for the particular holds and T-nuts. Tighten them securely, but avoid excessive force that could damage the hold or hardware.
Arrange holds according to the type of training you want to perform.
For beginners, create routes with larger and easier-to-grip holds. More experienced climbers can create routes involving smaller footholds, longer reaches, steeper terrain, or more demanding movement.
Do not place holds so close to walls, ceilings, windows, lights, or other hazards that a climber could strike them during a fall.
Create a Safe Landing Area
A climbing wall is not complete without an appropriate landing zone.
Climbing wall padding should cover the potential fall area and reduce the consequences of a fall. The appropriate type and thickness of padding depends on wall height, angle, climbing activity, and the specific safety system being used.
Avoid relying on ordinary household cushions, thin exercise mats, mattresses, or improvised padding as a substitute for suitable climbing fall protection.
The landing surface should not have gaps or exposed hard areas where a climber could land.
Also consider the position of the climber’s head, back, arms, and legs during a fall. The objective is not simply to cover the floor, but to create a properly planned fall zone.
Check the Wall Before First Use
Before anyone climbs, perform a complete climbing wall safety inspection.
Check:
- Every structural connection.
- Every plywood panel.
- All fasteners.
- T-nuts.
- Climbing holds.
- The surrounding floor.
- Padding and landing coverage.
- Possible contact with ceilings or walls.
- Sharp edges and protruding hardware.
- Movement or instability in the structure.
Apply gradual loading during your inspection rather than immediately attempting difficult climbing movements.
If you notice cracking, movement, loose hardware, damaged plywood, or any other structural concern, stop using the wall until the problem has been properly assessed and corrected.
How to Make a Home Climbing Wall More Useful
Once your home climbing wall is safe and structurally sound, you can make it more versatile by regularly changing the routes.
Instead of leaving the holds in one arrangement permanently, create different problems that develop:
- Footwork
- Balance
- Grip strength
- Body positioning
- Pulling strength
- Core control
- Movement efficiency
- Reach and coordination
You can mark routes with different colors or create a simple route map.
Changing the hold arrangement also prevents the wall from becoming repetitive. Even a relatively small climbing surface can provide many different challenges when the holds and movement patterns are changed.
Common DIY Climbing Wall Mistakes
Several mistakes can reduce the safety and usefulness of a homemade wall.
Making the Structure Too High
A taller wall increases the consequences of a fall and may require a more sophisticated safety system. For many home users, a lower training wall is more practical.
Using Weak Framing
The frame should be designed around expected loads rather than simply copying an ordinary partition wall.
Ignoring the Fall Zone
A strong wall can still be unsafe if the landing area is poorly designed.
Installing Holds Incorrectly
Loose or improperly mounted holds can rotate or detach unexpectedly.
Using Damaged Materials
Cracked timber, damaged plywood, corroded hardware, or questionable fasteners should not be used for critical structural components.
Building Without Checking Local Requirements
Building regulations, permits, structural requirements, and rules for outdoor structures can vary by location. Check applicable local requirements before construction.
Maintenance and Regular Inspection
A DIY climbing wall requires ongoing inspection, not just a one-time safety check.
Before climbing sessions, look for loose holds or unusual movement. Periodically inspect the frame, plywood, fasteners, T-nuts, and landing surface more thoroughly.
Outdoor walls require additional attention because moisture can cause deterioration, while sunlight and temperature changes can affect materials over time.
Replace damaged components rather than attempting to ignore or hide defects.
It is also useful to keep a simple maintenance record showing when major inspections were completed and when hardware or damaged components were replaced.
Final Thoughts
Learning how to build a home climbing wall DIY can be a rewarding project, but the goal should not simply be to create a wall that looks like a climbing gym. The structure needs to be stable, properly supported, carefully assembled, and surrounded by an appropriate landing area.
Start with a realistic design, use suitable structural materials, install the climbing surface correctly, and inspect every component before use. If the project involves complicated structural attachments, significant height, an overhanging design, or uncertainty about the existing building, get professional structural advice before proceeding.
A thoughtfully designed DIY bouldering wall does not need to be enormous to be useful. With a strong structure, good hold placement, adequate fall protection, and regular route changes, even a compact space can become an effective home climbing training area.
The most important principle is simple: build for safety first, climbing performance second, and appearance last.